
Originally Posted by
Internet
The problem of a leaking intake manifold so often surfaces on this and many other Forums, I decided to write this procedure. I have found, over the years, this procedure to be a fool-proof way to address the problem. However, like so many other things, there are other methods that can work equally well, it's just that over the past 40 years or so, I've found this one to work best for me. Believe me, I've tried a LOT of different methods, too.
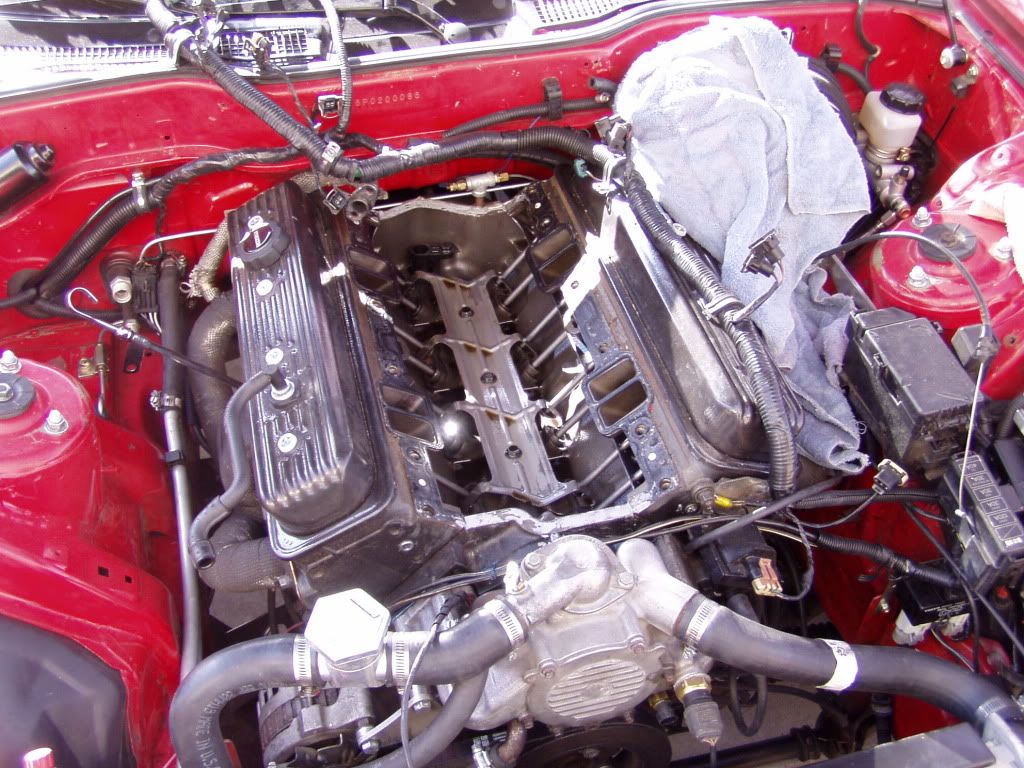
Most often, the leak will occur at the rear of the intake manifold in the area we commonly refer to as the "China Wall". Over the years I've come to conclude that increasing crank case pressure - caused by excessive blow-by - causes the sealant (or gasket on engines using them) to be forced out, resulting in an oil leak.
The lessening of torque on the intake manifold bolts can, over time, result in a leak too. Some bolts, over time, can become so loose they can actually be turned with nothing more than your fingers. So we're dealing with a double whammy, neither of which is good if you want an intake that doesn't leak.
I've had my share of intake leaks in that China Wall area and, on one occasion, one of my racing engines was waved off the starting line at the track due to the intake leaking oil. That was so embarrassing, I decided to find a way to prevent a recurrence. What I finally came up with is a combination of "old" and "new" school applications.
So here's how I now do it:
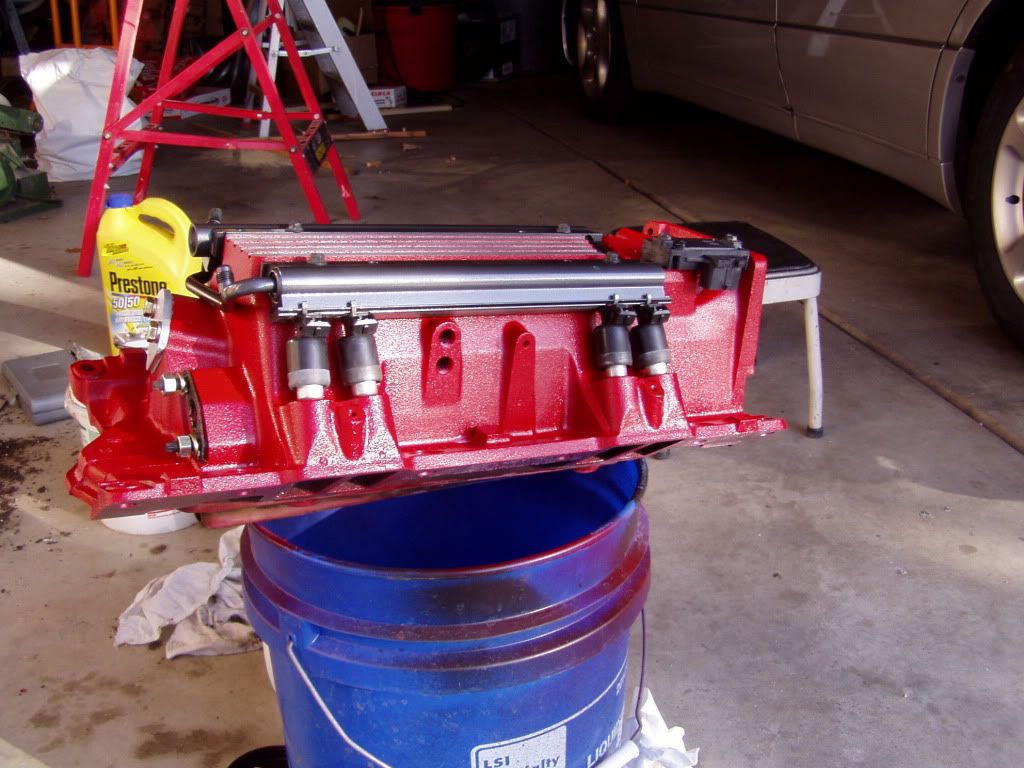
In removing the leaking intake, special care should be taken to insure no foreign particles fall into the lifter valley or down the holes in the block used for oil drain-back or the distributor/oil pump drive. It may be difficult to prevent every piece from falling in, but if one does, be sure to pick it out.
Next, all the mating surfaces must be cleaned thoroughly to be free of any oil, coolant or gasket material. This can be done using something as simple as carburetor/brake cleaner. I prefer brake cleaner since it leaves no residue. Go over the surfaces several times to be sure all residue has been removed. This is critical to allow the sealant to, well, seal and not move. Be SURE to use Sensor Safe RTV. RTV doesn't adhere as well to an oily/greasy/unclean surface.
Once cleaned, the surfaces (both intake and block) should be sanded with sand paper in order to roughen up the mating surfaces. This adds even more "grip" for the RTV.
Once the block, heads and intake are squeaky clean it's time to improve the ability of the sealant to adhere. I specified RTV sealant since the cork or rubber gaskets that still come with some intake manifold gaskets SHOULD NOT BE USED - DISCARD THEM!
I then dimple BOTH China Walls (front and rear) on the block using a nail set; this is the Old School/Old Racer's trick. I also do the same dimpling on the corresponding areas on the underside of the intake manifold.
This gives the RTV something to "bite" into. I've never actually counted them, but I end up with around 30 or more dimples at each of the four locations.
I have a photo of the dimples if you're interested.
I simply use a normal claw hammer and a nail-set to create the dimples. They only have to be deep enough to grab your finger-nail.
The process is easy to do and doesn't take long. Just strike straight down after placing the nail-set perpendicular to the surface so the nail set doesn't slip off.
After all are done, I wipe down the areas with a rag wetted with brake cleaner a few times. The cleaner will evaporate quickly leaving a clean, dry surface.
I use Permatex Sensor-Safe Sealant (SSS), this is the New School trick. I apply a thin layer on BOTH sides of the intake gaskets and apply it around all the intake ports and all the coolant openings (if the intake manifold has them).
I use my finger and spread a thin layer on both heads around each intake and water port . I then set the intake manifold gasket in place and press on it with my hand. I then apply ANOTHER thin layer on the gaskets, keeping both layers about 1/4" away from the port openings. That way it won't get squeezed into the port opeining(s) once torque is applied to the intake bolts.
Some prefer using other sealants, like The Right Stuff, etc., but Permatex SS has always worked for me - so "if it ain't broke don't fix it" is my train of thought.
I then apply a 3/8" diameter bead of SSS to the China Walls. I use a 3/8" bead rather than the 1/4" bead you may see in some manuals. I've found that a 3/8" bead seals better. If you're unsure of the diameter, just take a look at the diameter of the threaded end of a intake manifold bolt; that's 3/8".
I carry those beads, unbroken, up and onto the four corners of the intake manifold gaskets to seal the areas where the intake meets the cylinder heads and block.
I then immediately install the intake manifold,BEFORE the SSS skins over. I want the SSS, while still wet, to be able to flow into any crevice and especially the dimples. Once it cures, usually 24 hours, the SSS is anchored in place.
When installing the intake manifold, I set the intake straight down with no back or forth movement. I look through the intake manifold
bolt holes to align them with the holes in the heads. Minimizing back and forth or side to side movement of the intake is desirable to prevent disturbing the SSS. STRAIGHT DOWN IS THE KEY!
I then install all the intake manifold bolts by hand, finger
tight with Anti-Seize applied to the threads.. I always use washers under the heads of the intake bolts to more evenly distribute the clamping force.
I follow the torque sequence shown in my shop manual. The torque sequence differs depending on the year/model of the engine, so you'll need to refer to a manual to see which one is recommended for the engine you're working on. My thinking on this is 'there has to be a reason why GM recommended a certain sequence so, absent contrary evidence, why re-invent the wheel?.
I use at least three steps to torque all the bolts to 35 ft lbs of torque.
Now here's the trick that I feel has always helped contribute to excellent sealing:
.
I let the intake set for an hour or so, (while I'm doing something else) then go over every bolt in the same torque sequence, tightening (re-torquing) them as needed.
It's not unusual to find that one or more bolts has lost torque due, I believe, to compression of the gaskets. I wait for another hour or so, then go over all the bolts again.
I keep doing this until all the bolts hold the 35 ft/lb (lb/ft if you prefer) torque setting. After all the bolts have held the torque setting, I know I'm good to go.
In torquing down the bolts, some amount of sealant on the China Walls will be forced out - Not a problem. Once cured, the SSS won't break off and those of you who may be concerned about piece of SSS falling into the lifter valley needn't be. It won't happen.
For those who may be somewhat anal and who wish to remove the small amount of SSS which protrudes from the exterior of the China Walls, be sure to wait until the SSS has fully cured. Then take a very sharp razor blade and slice away the unwanted sealant. I never do, preferring NOT to disturb the seal.
Should it ever become necessary to pull the intake again - like when swapping cams, etc., - the SSS that's been compressed into the dimples can be easily removed.
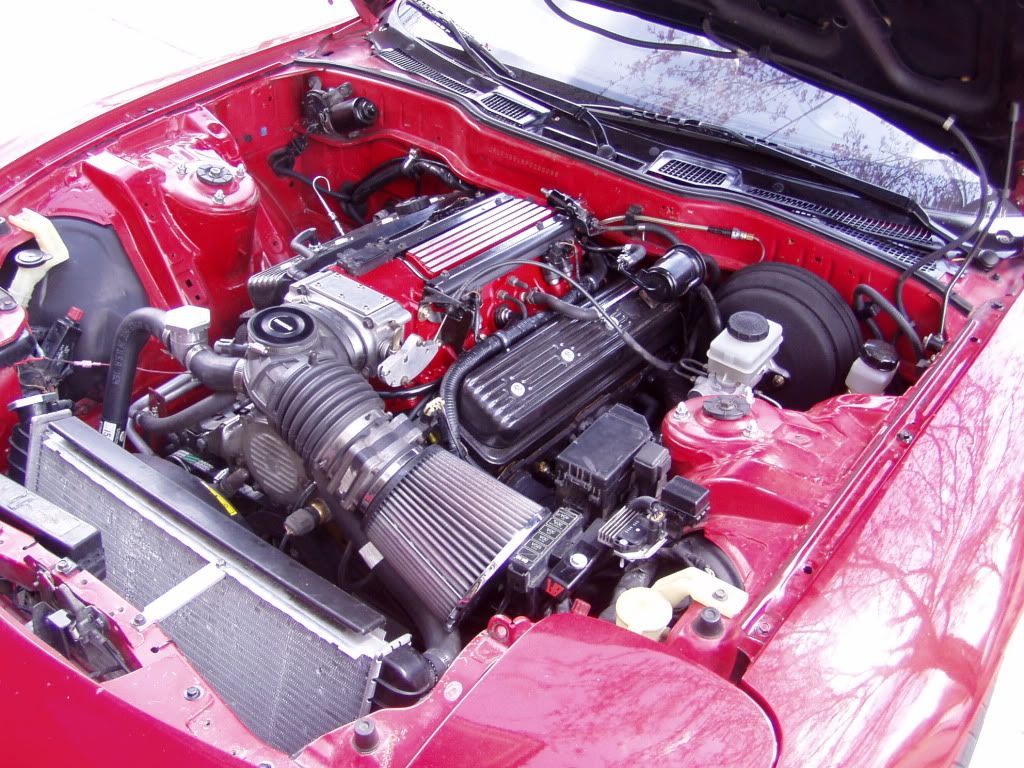
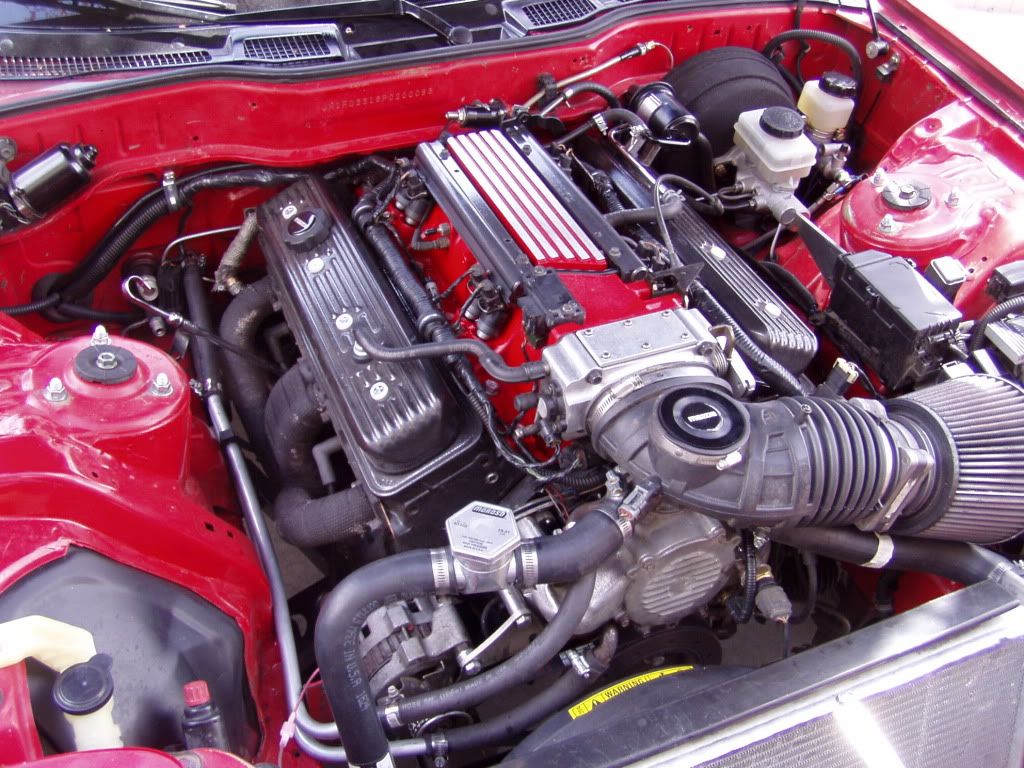
If it's done like this, the sucka won't leak down the road.


 Posting Permissions

 Reply With Quote


Bookmarks